In 3D animation, rigging is what enables characters to move as if they belong to the world they are placed in. Without it, the most finely grained model is nothing but a statue, inanimate, unusable. Rigging provides the model’s internal skeleton and control system, allowing animators to flex its limbs for smooth, plausible movement. It’s used in character animation in game development, in filmmaking, and in VR.
What is Character Rigging?
Character rigging is the process of creating a digital skeleton for a 3D model. A simple rig for animation might require no more than a few bones and controls, just enough to allow a simple prop to rotate or wobble. But when you’re rigging a humanoid character for gameplay, things get pretty layered, pretty fast. You are seeing controls for joint chains (for limbs), snake-like spine flexibility, facial controls, deformers for muscle simulation, and constraints to handle follow-through. It’s one of the most technical stages in computer animation, and yet it’s what gives animated characters their motion and behavior.
Key Components of Rigging Animation
Skeleton (Bones and Joints)
This is the core framework. Joints are added at pivot points, such as the shoulders, knees, and elbows, and linked into a hierarchy. These bones drive the structure and let the mesh move like an actual organism or machine.
Skinning
Skinning binds the mesh to the skeleton, allowing the geometry to follow movement. You use tools like weight painting to fine-tune how much influence each joint has over surrounding vertices. Without proper skinning, movement gets glitchy or looks wrong.
Controls
Controls are animator-friendly tools that manipulate the rig. Instead of touching joints directly, you use control curves, which are visible shapes that drive movement. These can trigger IK systems (like moving a hand while the arm follows), FK chains (rotating joints one by one), or combo rigs for max flexibility.
Blend Shapes
Used heavily in facial rigging, blend shapes morph one mesh into another. You can sculpt a smile, frown, or lip-sync pose and animate between them. UI sliders or control rigs often drive these shapes.
Constraints
Constraints control how one object follows another. They’re key for linking accessories, setting up follow-through motion, or ensuring animation layers don’t break each other.
Facial Rigging
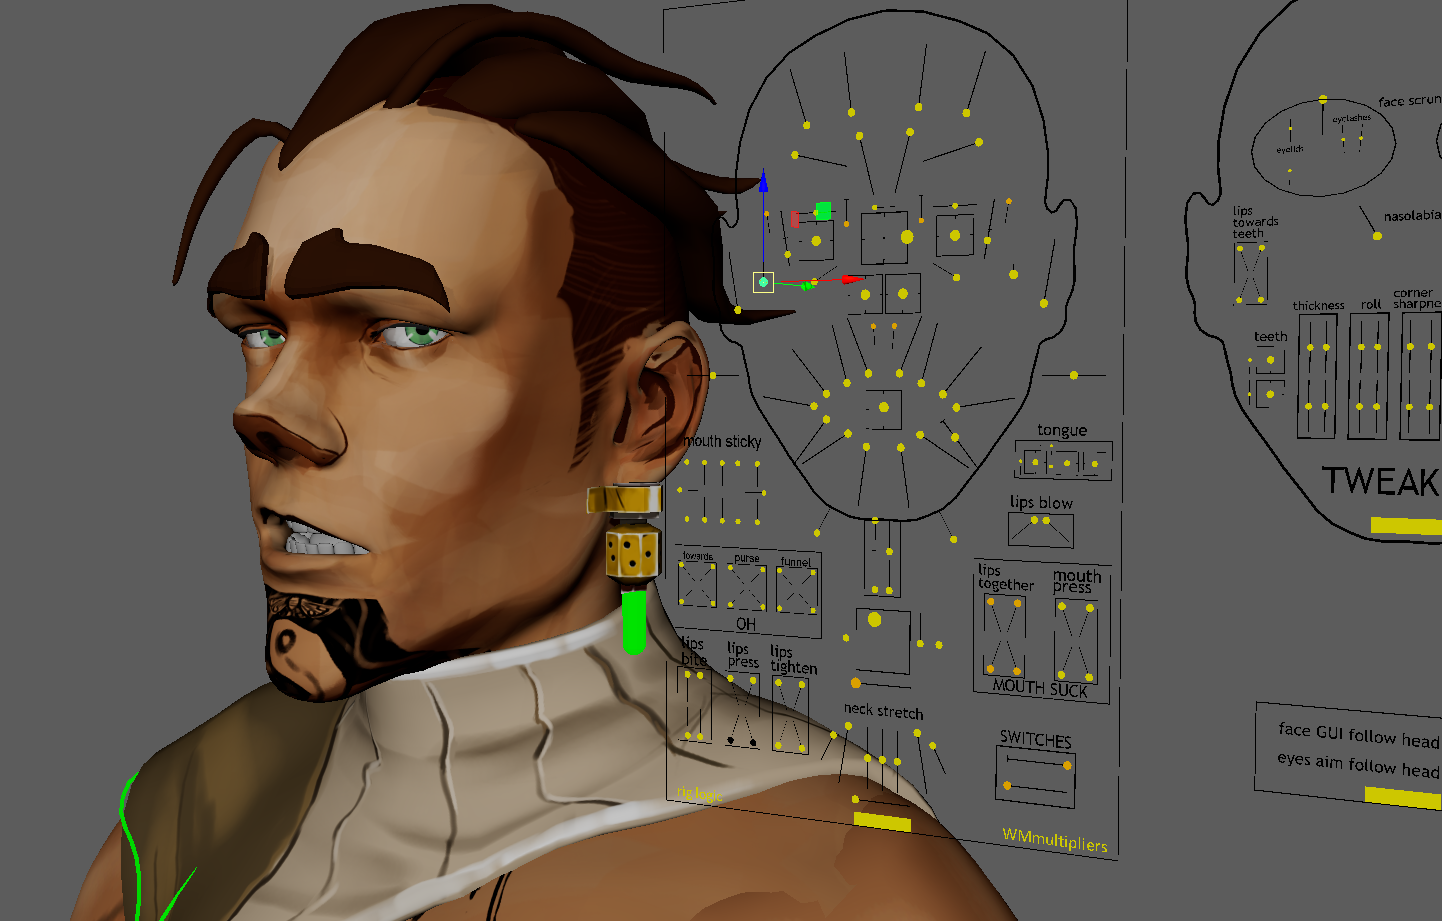
You’ll combine blend shapes, joint-based systems, or both to animate detailed facial expressions. Good facial rigging can sell emotions, sync dialogue, or bring out the personality in your character, which is crucial for storytelling-heavy games.
The Process of Character Rigging
Once creating 3D models is complete, rigging steps in as the bridge between static geometry and dynamic animation. This phase is where the groundwork for every twitch, sprint, or idle animation gets laid down.
Building the Skeleton (Bones and Joints)
Everything starts with the skeleton. In the context of rigging 3D, this means creating a structure of joints inside the object’s mesh. Consider it a matter of positioning virtual bones, such as the hip, spine, clavicle, shoulder, elbow, wrist, and so on. Each joint is essentially a pivot, and they’re linked in parent-child chains. The root joint typically begins at the pelvis, extends down the legs and up the limbs, through the neck to the head, and out to the fingers or toes, and at times, the face. The nodes must have the correct orientation and alignment; a misaligned joint can ruin an animation later on.
Setting Up Control Handles
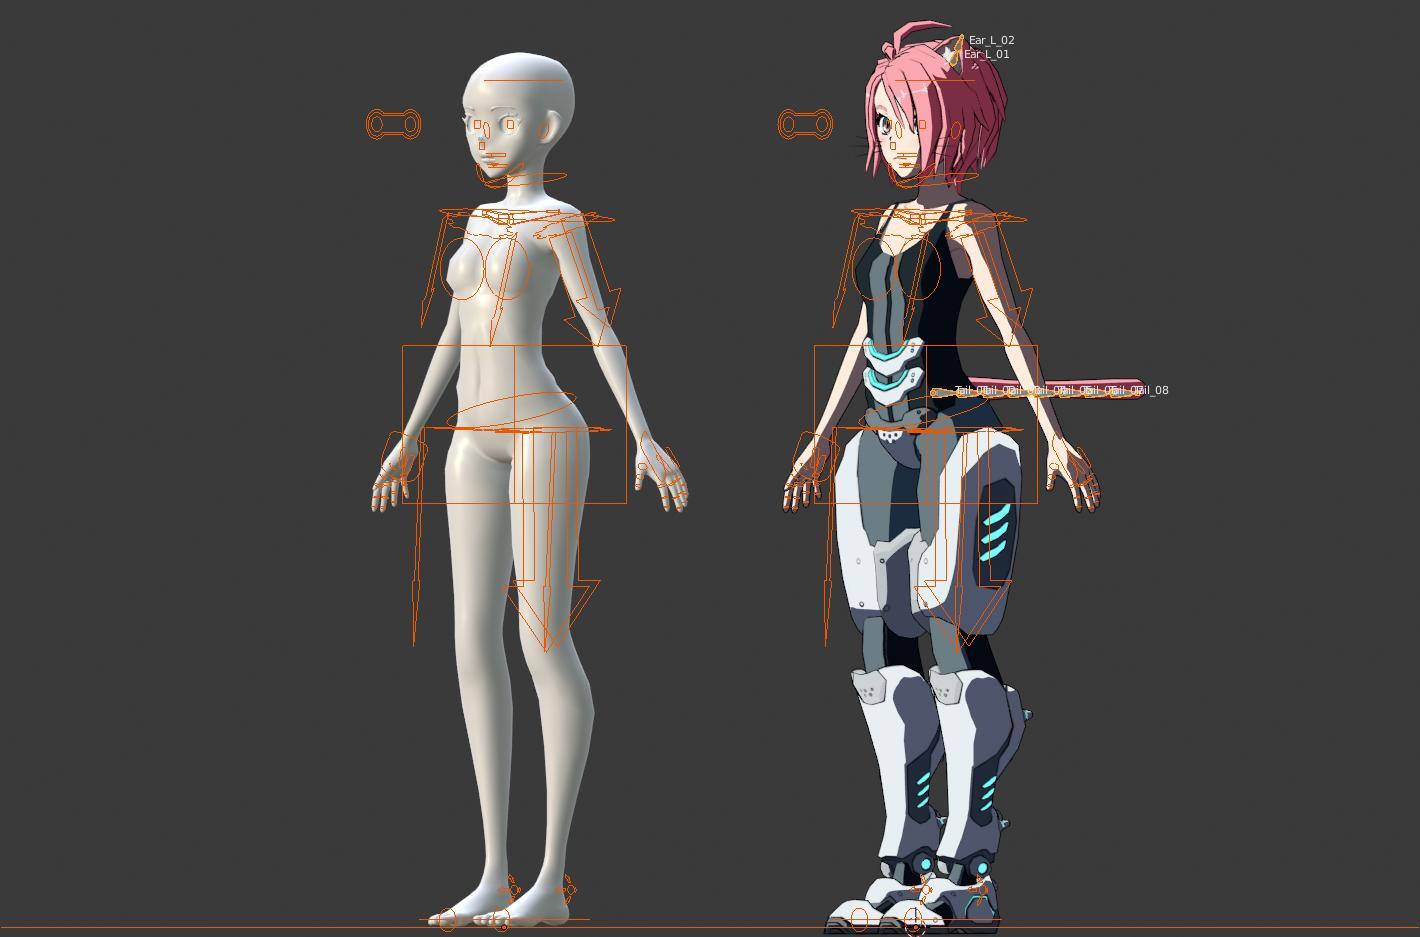
Now, the rig must be usable, apart from being functional. You don’t want animators manually selecting joints and rotating them; it’s too tedious and error-prone. So, you build control handles: clean, clickable shapes, such as circles, arrows, sliders, or boxes, that sit outside the mesh.
Each control drives a part of the skeleton through expressions, constraints, or driven keys. For example, rotating a foot controller might also trigger heel roll or toe lift. Sliders can control facial expressions, eye direction, or blend shapes. This is where a well-designed rig animation system can either streamline the animator’s workflow or become a bottleneck.
Rig Testing and Iteration
With the controls in place, it’s time to test. Every joint chain, control, constraint, and deformation must be stress-tested. Animators rotate limbs, push the extremes, and check for broken skinning, weird twist behavior, or janky motion arcs. FK/IK switching gets verified. Constraints and space-switching (like switching a hand from world space to prop space) are validated.
This phase also includes building animation prototypes and doing posing, walking, and facial tests to make sure the rigged animation responds well under actual production scenarios. If something breaks here, it’s back to joints, weights, or controllers for tweaks.
Types of Rigging Techniques
Animation rigs aren’t all made the same. Depending on the character’s role, complexity, and how it needs to move, riggers apply different systems to optimize both control and flexibility. Whether it be a basic turret pivot or a fully boned-out character model complete with facial rigs and micro-expressions, understanding these systems and how they function is important if you want to be able to create a fast, efficient 3D animation rigging pipeline.
Forward Kinematics (FK)
Forward Kinematics is the most straightforward and most direct rigging method. In FK, animators rotate joints one by one, starting from the top of a chain and working their way down. Think about animating an arm: you would turn the shoulder, then the elbow, then the wrist. Each transformation stacks down the hierarchy.
FK allows you precise control over poses and is ideal for creating bold silhouettes or exaggerated movements. It’s frequently utilized for stylized character work, hand-keyed cut scenes, and bits of animation that call for clear, readable poses; things like idle stances, a stretch pose, or a mid-air spin. The downside, though, is that it can be time-consuming to adjust motion across multiple joints, especially for things like walk cycles or interactive movement.
Inverse Kinematics (IK)
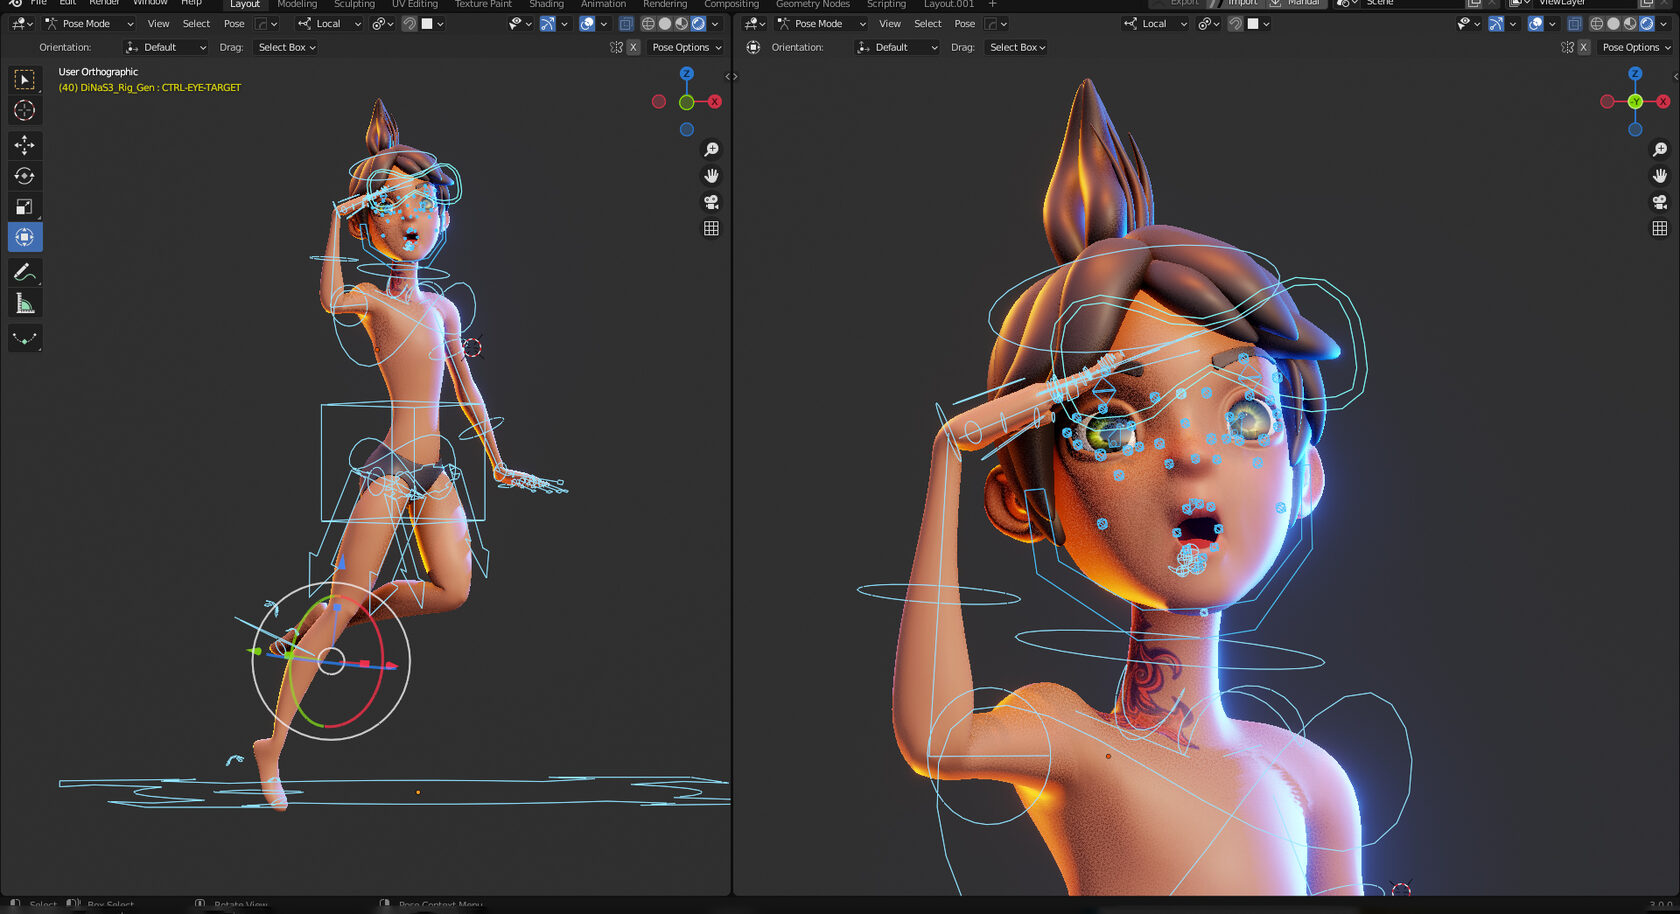
Inverse Kinematics flips the chain logic. Instead of rotating joints one by one, you grab the end effector (say, a hand or foot) and move it. Then the rig automatically calculates how the joints above should rotate to follow that movement. It’s essential for grounded, reactive animation, like keeping feet planted during a run cycle or having a hand reach out and interact with the environment.
IK is heavily used in skeletal animation for gameplay, such as combat stances, locomotion systems, climbing rigs, or any time a limb needs to lock to a target or follow a path. Most production rigs offer IK/FK blending, allowing animators to benefit from the best of both systems. For instance, a character may start with an IK-driven punch but switch to FK for the recovery pose.
Facial Rigging
Face rigging is an entire subset of 3D animation rigging. It is designed to capture nuanced expressions, lip-sync, and emotional range. Unlike limb rigs, facial systems use a mix of techniques to manipulate geometry at a much finer level.
Software Used for Character Rigging
Picking the correct 3D model rigging software is an important part of any production process. The tools you employ will affect how flexible, efficient, and easy to use your rigs are, whether you’re making real-time characters for games or cinematic rigs for cutscenes.
Autodesk Maya
Maya is the industry gold standard for character rigging, widely used in AAA game development and film VFX. It features a sophisticated joint system, IK/FK switching, constraint networks, and custom scripting with MEL or Python. Its Rigging Toolset and HumanIK system enable the easy creation of rigs, while the Node Editor provides full control over procedural setups. Maya is often the workhorse of choice for a model rigger who’s working with complex biped or quadruped rigs.
Best for: Advanced rigs, studio pipelines, facial systems, and mocap retargeting.
Strengths: Customizability, industry-standard format, deep toolset.
Limitations: Expensive license, steeper learning curve.
Blender
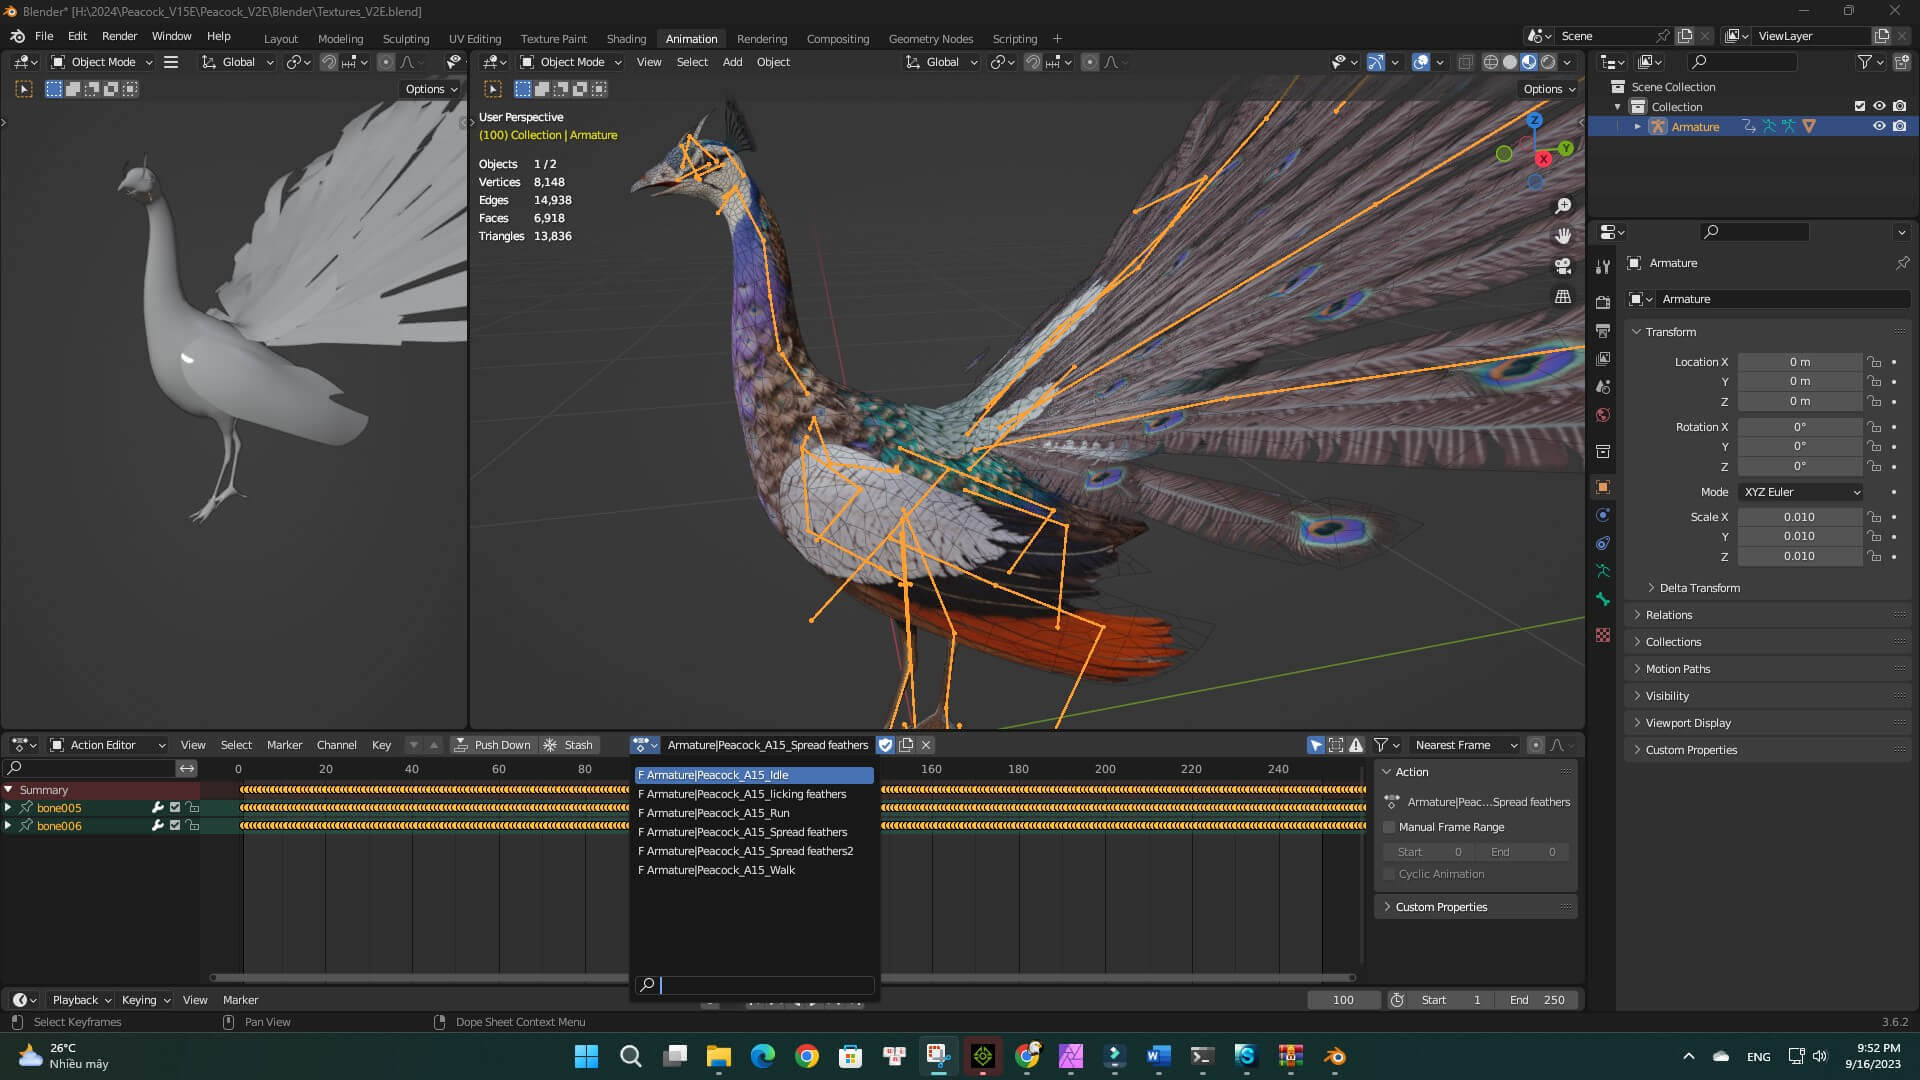
Blender has become the favorite for indie creators and smaller teams. It’s open-source, lightweight, and packed with rigging features. The Rigify add-on lets you auto-generate rig structures quickly. Its bone layers, constraints, and driver system make it a surprisingly powerful rigging tool. Its integration with sculpting and animation makes it ideal for handling everything inside one environment.
Best for: Indie devs, stylized rigs, real-time engines, quick prototyping.
Strengths: Free, fast development, built-in auto-riggers.
Limitations: Lacks some of the deep tools Maya provides for complex pipelines.
Autodesk 3ds Max
Popular in architectural visualization and some game studios, 3ds Max includes a robust Biped System and CAT (Character Animation Toolkit). These modular rigging tools make it easy to set up skeletal animation rigs fast. It is ideal for crowd simulations, background characters, or non-humanoid characters. Scripting via MaxScript enables pipeline automation and integrates seamlessly with motion capture data.
Best for: Non-humanoid rigs, NPCs, background assets, quick setups.
Strengths: CAT system, real-time feedback, mocap-friendly.
Limitations: Less used for facial rigging or cinematic hero characters.
Final Thoughts on Character Rigging in Animation
Rigging is the process that gives animators control over how their character moves, emotes, and responds to a scene. Instead of fiddling with mesh vertices from frame to frame, animators have clean control systems to work with, such as rotating joints, sliding along a slider, and toggling between IK and FK rigs to hit key poses quickly. A solid rig and animation setup behaves predictably and responsively, allowing the artist to concentrate on performance and timing, rather than cleaning up the technical aspects. This control is paramount in the animation process, where tight schedules are common.
FAQ
Start with the basics. Focus on:
- Understanding anatomy: A basic knowledge of how bones and joints work in the real world will help you place your digital joints correctly.
- Joint placement: Proper joint orientation and placement are crucial for good deformation. A small mistake early on can lead to significant problems later.
- Skinning/Weighting: This process determines the influence of each vertex (a point on the model’s surface) by each bone. This is often cited as one of the most challenging parts for beginners.
- Look for tutorials: Forums are full of recommendations for tutorials and courses, both free and paid, for software like Blender, Maya, and 3ds Max.
For a junior rigger, some scripting knowledge (like Python or MEL in Maya) is a huge advantage. Although many rigging tasks can be performed manually, scripting is beneficial in that it enables you to automate those repetitive tasks, develop your tools, or even build your own rigging system. So even if you wouldn’t need to create a full-fledged auto-rigger from the start, the ability to write small scripts that improve your workflow is extremely valuable for you as an artist on the job market.
Auto-riggers (like Rigify in Blender or Advanced Skeleton in Maya) are great tools. Many forum members agree that they are a fantastic way to get a functional rig quickly. However, they are generally viewed as a starting point, rather than a complete solution. You still need to understand the underlying principles of rigging to know when and how to customize the rig for your specific character and animation needs.